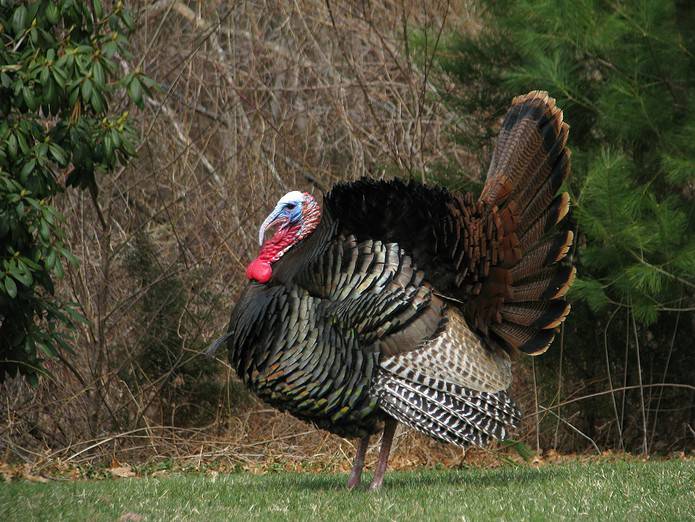
Late season can be a difficult time for a lot of turkey hunters. Most properties have seen some hunting pressure, the phases of the breeding season are progressing, and the toms are acting sketchy. It makes it hard to hunt them effectively. But, although scouting is the key to locating the big boys, not everybody has the time for boots on the ground. That’s why more and more of us are utilizing cellular technology in our game cameras to get real-time data on our targeted longbeards.
The more observations you can make, the better. Pay close attention to your preseason scouting notes on potential barriers to terrain like steep terrain, creeks and water areas, thickets, tall grass, and fences. While turkeys can fly over these barriers, they typically won’t if they’re responding to a hen. Dust bowls, a place where turkeys dust themselves to get rid of parasites, are a great location to set up trail cameras. You can even set up cameras over mock dustbowls, just like mock scrapes for deer.
To identify roosting trees, get in the woods during the evening to spot and hear turkeys flying up to the roost. The goal is to try to understand where the turkeys are roosting and where they’re going from the roost. But be careful. You don’t want to get too close to a roost, or you might pressure them to move to new locations. I recommend staying about 100 to 150 yards away if possible. Getting busted isn’t worth it.
Once you have a good idea of where to place cameras, try to set up multiple cameras if resources allow it. This will give you an even better idea of what areas are hotter than others. Move cameras that aren’t getting a lot of action to new locations.
Due to their small size, turkeys can go by a camera without you ever seeing them. It’s important to get cameras up high, especially when they’re overlooking a large field. Even on level ground, placing cameras high above your head will help with the range and depth of your photos. This is ideal since you’re trying to identify turkey patterns, as opposed to needing close-up photos. Make sure the camera’s view captures where turkeys are entering and exiting the fields. More than likely, they will enter and exit fields at or near the same location. While high camera placement is recommended for overlooking a field, low placement is the best choice for tight spots, dense woods, or along a path. Many hunters like to set their cameras just above ground, about knee-high, which is a great tactic to capture beautiful close-up photos.
One of the best ways to understand movement is to set your camera in time-lapse mode. This enables you to capture animals that aren’t close enough to trigger the motion sensors. Setting your camera to take a photo every ten minutes will suffice, as turkeys, when not pressured, will move slowly through a large field. If you’re in an area that doesn’t have an expansive view, normal motion capture is the better choice. Time-Lapse mode will allow you to see where they’re coming from, how long they stick around, as well as where they’re going.
We usually set the Time-Lapse setting to take photos from 6:00 a.m. to 1:00 p.m. After a week, you should have a handle on their locations and general patterns.
Check your trail camera manual to be sure, but most trail cameras set on Time Lapse will also take photos when there’s movement, so you won’t miss any action.
The best time to check or deploy your camera is mid-afternoon when the turkeys aren’t as active. However, even in low activity times, be sure to spend as little time as possible getting your camera deployed. This is why I love my cellular cameras, specifically the TactaCam Reveal. Once in place, I’m not running in and out of the area checking the SD cards. It sends all camera activity directly to my phone.
A few days or a week is plenty of time to gauge activity. If there haven’t been any, either adjust the angle or move the camera to a different location to increase your odds.
Having a detailed log highlighting appearance dates and times can help you this season and future seasons. This is also helpful during the offseason, when turkey photos may tip you off to new areas.
Hopefully, these turkey trail camera tips and tactics will help you have greater success this season. I wish you great luck this season and encourage you to start using your trail cameras for turkey if you haven’t already.
If you have other trail camera tips related to scouting and patterning turkeys or would like to share your own experience, I’d love to hear from you at [email protected]. God Bless, and good hunting!


